Introduction
At Haliskay, we believe that mastering studio kitchen organization hacks is the secret to living large in a 500 sq. ft. space without limiting your culinary creativity.
To be honest, I had to learn this the hard way. When I first moved into my studio, I quickly realized that cooking even a simple meal was a total workout in patience; my cutting board barely fit next to the sink, and my countertop space seemed to disappear by the minute.
But after a lot of trial and error, I discovered a few studio kitchen organization hacks that are completely renter-friendly and transformed my tiny studio kitchen without me ever having to drill a single hole. Here’s what actually worked to reclaim my space.
1️⃣ Vertical Storage: The Best Studio Kitchen Organization Hack
Before: My 24-inch counter was a jumble of spices, mugs, and utensils. I felt like I was constantly moving things just to chop a single onion.
After: Installing tension rod racks and stacking shelves inside cabinets freed up nearly 12 inches of counter space. Spices now line the wall vertically, and I can prep meals without knocking over a row of mugs. In my experience, using the vertical plane feels like gaining an extra countertop without remodeling.
2️⃣ Switch to Compact Appliances
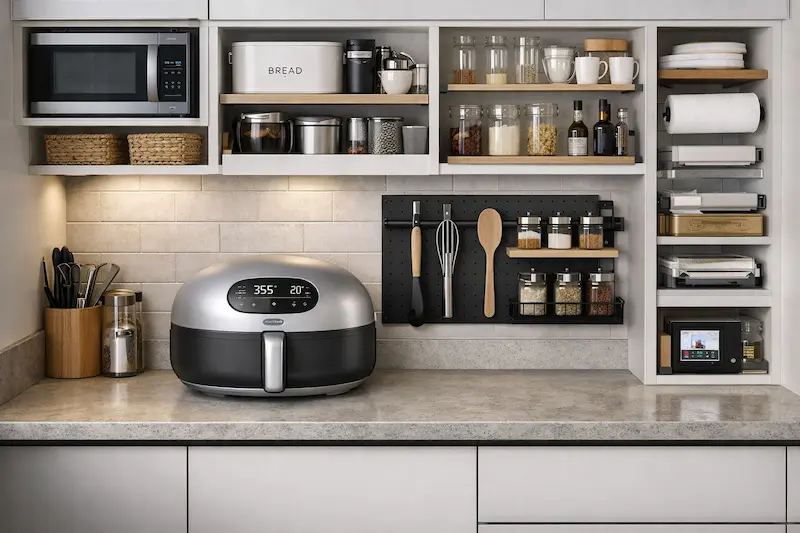
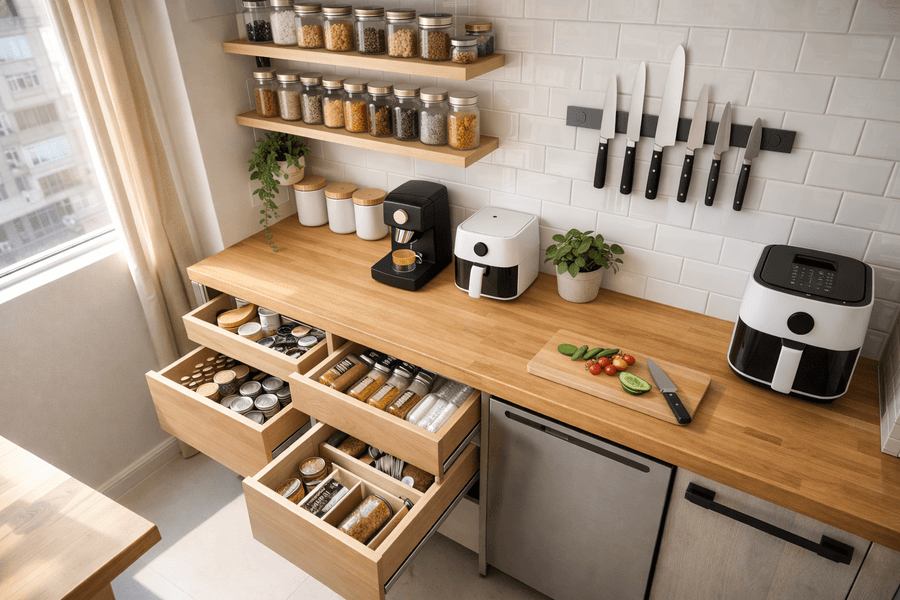
2️⃣ Switch to Compact & Smart Appliances “My bulky espresso machine and full-sized air fryer once dominated my 24-inch counter, leaving zero room for actual cooking. One of the most effective studio kitchen organization hacks I discovered was switching to ‘small-footprint’ tech. By opting for a portable espresso maker and a mini air fryer, I instantly reclaimed 12 inches of workspace. If you’re looking for the best space-saving gadgets, check out our curated [🛒 Compact Tech] guide. It’s a game-changer for anyone trying to automate a tiny kitchen without the clutter.
My bulky espresso machine and full-sized air fryer once dominated my 24-inch counter, leaving zero room for actual cooking. One of the most effective studio kitchen organization hacks I discovered was switching to ‘small-footprint’ tech. By opting for a portable espresso maker and a mini air fryer, I instantly reclaimed 12 inches of workspace. If you’re looking for the best space-saving gadgets to automate your tiny kitchen without the clutter, don’t miss our curated guide: [3 Smart Air Fryers: Space-Saving Alternatives to Costco’s Best-Sellers]. It’s a true game-changer for anyone wanting high-performance cooking in a fraction of the space.
3️⃣ Use Rolling Carts
Before: Pantry items and extra kitchenware lived on the floor in boxes, making the studio feel cramped.
After: A rolling cart now holds dry goods and snacks. When I have a guest over, I simply wheel it into the living area for easy access or tuck it beside the fridge. In my experience, this added flexibility made the studio feel less like a storage unit and more like a functional living space.
4️⃣ Use Under-Shelf Baskets for Better Studio Kitchen Organization
Before: The top shelf of my cabinets had a 10-inch dead gap above stacked plates. It was wasted space I could never reach easily.
After: Installing under-shelf baskets turned that “dead space” into storage for cutting boards, foil, and kitchen towels. I now see everything at a glance, and it keeps the 24-inch counter clear. In my experience, this small addition made a huge difference in keeping my studio kitchen organized without permanent modifications. For high-quality shelving units, [IKEA’s kitchen organizers] offer some of the best modular solutions for small apartments.
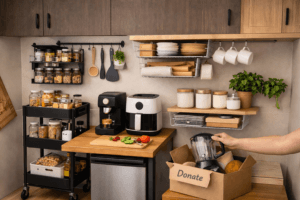
5️⃣ Practice the One-In, One-Out Rule
Before: I hoarded gadgets thinking I might use them someday. My old blender was crowding my single drawer.
After: Every time I bring in a new smart kitchen gadget, I donate or store an older one. I remember the moment I gave up my bulky blender for a new smart mini mixer—I felt lighter, and my countertop finally breathed. In my experience, letting go is as important as adding organization tools.
Final Thought
“If you’re ready to try these studio kitchen organization hacks, start small. Pick one—maybe a rolling cart—and see how it changes your routine.. What actually worked for me was tackling clutter in stages. With each adjustment, my tiny studio kitchen felt a little more spacious, a little more functional, and a lot more enjoyable.
Kitchen efficiency is vital, but don’t stop there. Scale these hacks across your whole apartment with our 2026 space optimization blueprint.